Pages

Showing posts with label monogram. Show all posts

Saturday, March 7, 2015

Pin 'M'e up!


On display in Peaches' room
A long time ago, and I a mean, loooooong time ago, I bought a piece of "art" from a local craft store that was on clearance.  I didn't care at all for the picture in it, but loved the frame and at $5, I couldn't turn it down.  

Fast forward several months (or perhaps a year), and I decided it was time to put that baby to use after I found this cork board 'M' on clearance at Fred Meyer's.  We already know that I can't say no to any 'M.'  God forbid Peaches forgets what her name begins with!

Cork board 'M' that Peaches already used to display her art
  The frame had hideous little "sequins" all over it, so I started by removing them.
Frame with the sequins removed
I then realized that I had thrown away the "art" and no longer had a backing to use.  Off to the craft store to buy some corrugated cardboard to cut to size.  

No reason for choosing pink - it was just all they had!

I took a couple of quick measurements by flipping over the frame to see what size the cardboard needed to be to fit it.  Once I cut it, I covered the cardboard with the fabric I had chosen.  I used Elmer's Craft Bond Spray Adhesive, but in hindsight, I would've used something a lot stronger like 3M Super 77 - that stuff really works!
Fabric for covering the cardboard

I used this spray adhesive, but recommend something stronger
The toughest part of covering the cardboard is making sure everything is smooth.  Just keep at it!


After the cardboard was covered, it was time to attach it to the frame.  I simply used a staple gun and I love the one that I have - it makes it so easy!  I just made sure to have one side of the staple go into the cardboard, and the other one in the frame.

You can see one of the staples - one point in the cardboard and one point in the frame
Next came time to add the 'M' to it.  The letter actually came with a couple of Velcro dots, but it wasn't strong enough to stick to the back, so I used good old Alene's Original Tacky Glue which always helps in any crafting situation!
The Velcro dots the letter came with
Alene's Original Tacky Glue to the rescue!
And that was it!  I used a nail to hang it up in Peaches' room and she loved it!

The finished project in my craft room

Peaches loves it!


Tuesday, January 15, 2013

"M" I Missing Something?


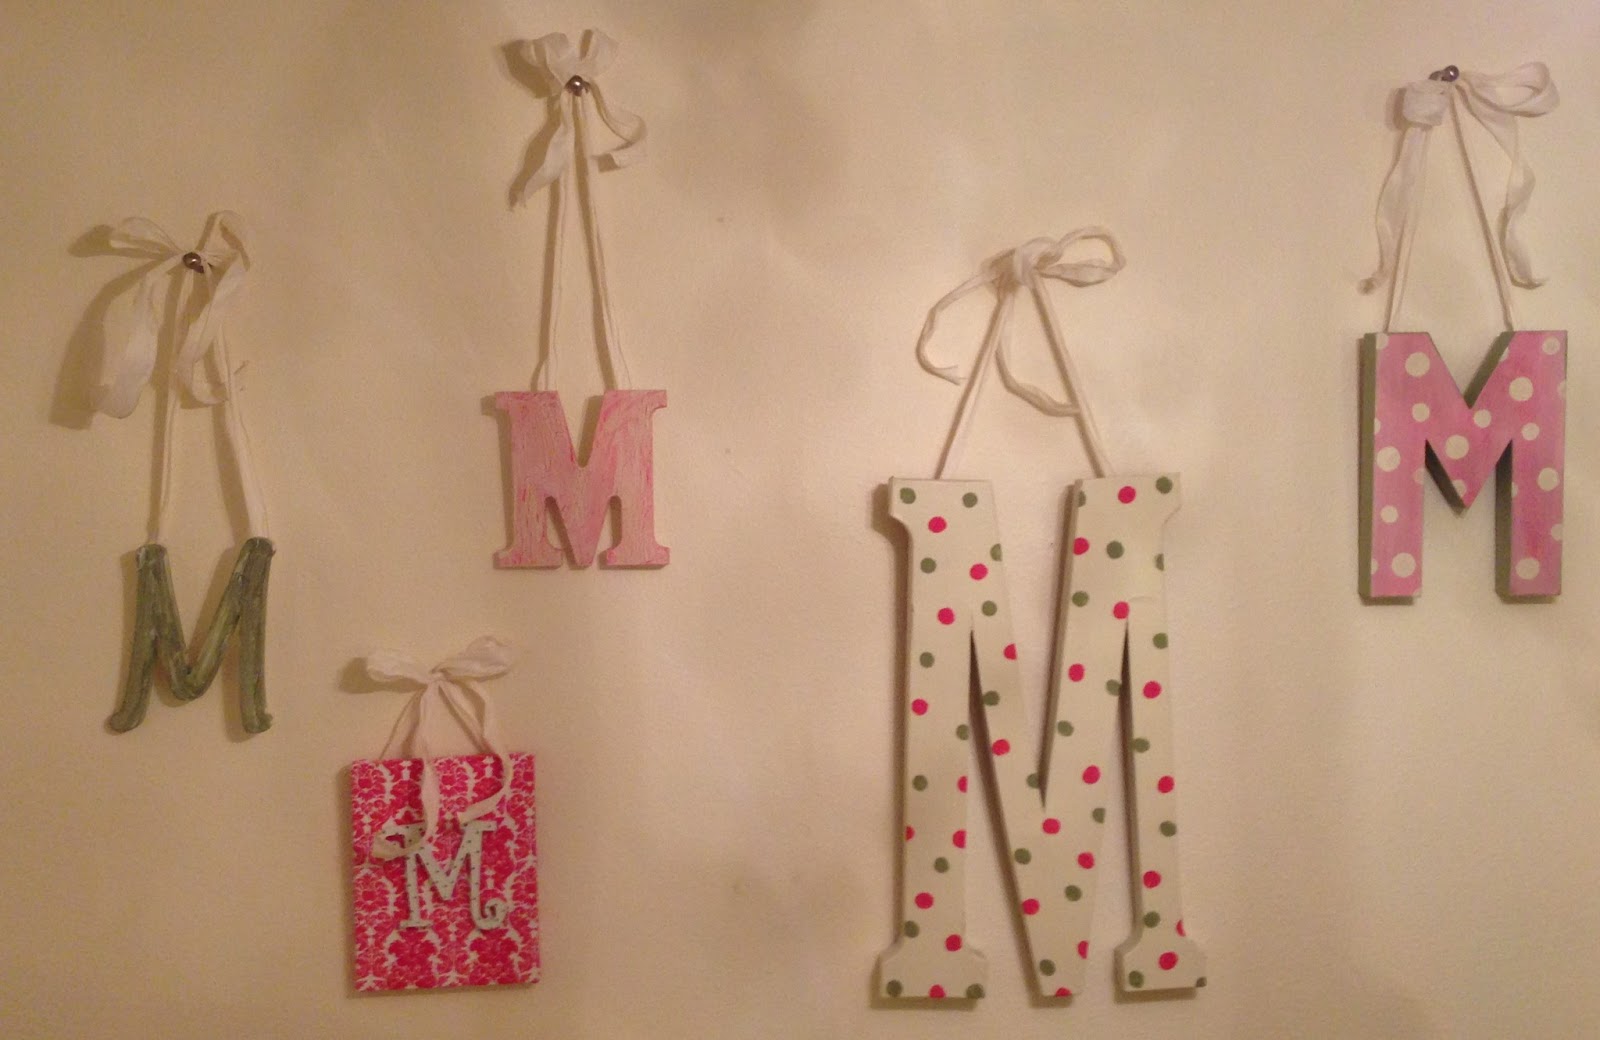
I have an obsession and it's with the letter 'M' because that's the first letter of Peaches McGee's real name (Milla).  I have a few that I've purchased, but haven't hung yet, so I decided to get at least one of them up.  My first attempt was punching out paper flowers and gluing them on.  It was ugly so I decided to try something else!

I had a canvas board that had been sitting in my craft room for a while.  I decided to wrap it with fabric and then staple gun it nice and tightly around the canvas.  I then painted green dots on the 'M' (after removing the glued flowers) and when it dried, I used regular craft glue and mounted it to the fabric-covered canvas.  I liked it enough to hang in her room and she liked it enough to say, "Oooooh, Mommy! Thank you for my pretty decoration!"


UGLY


Canvas


Clearance craft paint (I love a deal!)


Back of the canvas with the fabric stapled to it


Front of the canvas


Dots on my 'M' - I just used a pencil eraser dipped in paint to get the "perfect" dots


Project (almost) complete!


I wasn't 100% satisfied because I realized that all of the other 'M's were hanging, so I took two pieces of ribbon, stapled it to the back of the canvas and tied a bow.  Much better!