Pages

Thursday, July 21, 2016

Lies and the liars who tell them


So last month, I decided to venture on to a new journey and recreate crafts from a blog that I frequent often with the notion that they COULD ALL BE MADE IN 10 MINUTES OR LESS (I picture an infomercial voice here).  Well they lied.  Lied, lied, lied.

The first one wasn’t too far past the 10-minute mark, but this one?  Almost a full HOUR past that mark.  I’m trying to figure out when they use the timer?  Is it just the sewing time?  Just the cutting out the pattern time?  Just the pinning time, or just the “I’m going to say it only takes 10-minutes to really piss people off” time.

Here's the link to the blog, just in case you want to try out this 10-minute 1-hour+ project.

So here’s how it went… I saw the project for oilcloth placemats and since I bought this oilcloth years ago with every intention to make something cool with it (that sh#t is expensive!), I realized now was my chance.

Cute fabric, right?  Who knows when I bought it, but I obviously never used it.

First, I cut out the placemats in both the oilcloth and backing - yes you have to cut out a front part (oilcloth) and a backing (cotton).  Maybe they meant the time it takes to make ONE placemat?  But who in God’s name only uses one placemat??  I digress… 

Then I cut out the template for the napkin/utensil holder and pinned it on the oilcloth to cut out.  I finally attached the napkin/utensil holder to the oilcloth portion and stitched around it. 


Time check!
26 minutes of cutting and pinning, a wee bit more than the 10 they promised
 
Placemats with napkin/utensil holder stitched on

Then I sewed the oilcloth and the backing together which was super easy (I love me a straight line – which never winds up being very straight since I can’t seem to cut, draw, or sew straight).  Then instead of using a rotary cutter with the pinking edges, I used my pinking shears.  Holy wow did my hands hurt after doing all six!

Final time check - almost a full hour more than promised. 

Side note…I stupidly folded my oilcloth and read that I was not to iron it, but it would eventually lose all of its creases.  I tell you the world if full of liars.  Two weeks later and I still have creases. GRRRRRRR.

After it was done, I decided to put my Cameo to use and individualized each placemat… one for me, one for daddy, one for Peaches, and one each for the people who dine with us most frequently: Bridget, Grammy, and Donnie.  Are they cute?  I guess.  Were they worth the hour plus?  Good God no.  Which leads to find another list of projects where I don’t feel like I need to go the confessional afterwards because I’ve used so many expletives.


Tuesday, May 31, 2016

Bookmark This!


It seems that I work all the time now.  My job is full-time, Peaches goes to school about 20 minutes away and I still take care of the house and the cooking.  I've found myself a little down in the dumps but yesterday, I made a simple bag for Peaches' blocks and realized that I need to create something...anything to help my mental state.  


My journey out of the stay-at-home blues started with a mission to recreate Martha Stewart's crafts which eventually led me in all the right directions to start creating my own items for sale.  Now, I'm going back to that model and I'll be trying each of the following projects from this website:


And I'm also going to time them and see if they really are "sewable" in under the alloted time they state because you know I'm a stickler for those who brag about time and ease of projects (read: Martha Stewart).  

First Up - a "5-minute" bookmark that I plan to make for Peaches who is an avid reader and has graduated to books where she actually needs a bookmark.

Supplies:
  • Scraps of fabric
  • Small piece of elastic (hers was 1/2 inch wide but as she states really, most any width will do)
  • Sewing machine
First I asked Peaches which fabric she wanted and let her know that she could have two so that it would be reversible.  After some careful coaching thought, she chose these two:

Fun fact - the first pennant flag that I ever made for Milla was with this fabric

I then sent her upstairs for her daily "quiet time."  Seriously, this kid went from sleeping 14 1/2 hours per day (including a 2 hour daily nap) to only 12 - 12 1/2 hours now that she's in kindergarten and gets home too late, so for the sake of everyone's sanity, she needs this quiet time. Plus, it's only for an hour which should give me plenty of time to make the bookmark.

I started the timer on my phone and cut out the fabric a little smaller than she did (3" by 9"). I then used a straight-stitch on my machine with the two right sides facing each other.  Of course I screwed up, and had one on the wrong side, but I stopped the timer since it wasn't fair that I was the idiot.  

After ripping the stitches (my seam ripper gets some serious usage), and a few profanities, I got started on the project again.

I then turned it inside out, pressed it flat and pressed under the edges so that I could sew in the elastic (seriously, if you want the step-by-step, check out the original: http://crazylittleprojects.com/2014/07/bookmarktutorial.html

After sewing in the elastic, it looked like this:

And the timer that does not lie, said this:

Close, but no cigar my friend.  And I even HUSTLED.  

But me, being me, I had to personalize it for Peaches. Using my Silhouette Cameo, I cut out the words "Milla's" and "Book" on Heat Transfer Vinyl and made it a bookmark just for her.

Finished product - cute.  5 minutes?  Nope.  Would I do it again?  Probably not!

Front of bookmark (Milla's)
Back of bookmark

Tuesday, March 31, 2015

Pin the Tiara on the Princess


I've got a post that I'm super excited to share because I think it could be the start of something awesome.  Like, maybe I'll see it all over Pinterest.  Or maybe I won't, but I'll share it anyway.

So, I have seen people pin posts from blogs about "engineering prints" or "engineering copies." Basically, it's a huge paper printout of a picture that costs less than $10 because architects and engineers use them for their plans (sizes as big as 3 feet x 4 feet).  Well... I thought to myself, "Why not print out a picture of Peaches McGee and have them play a version of "Pin the Tail on the Donkey?""

Peaches decided that she wanted a princess tea party for her 5th birthday party, so I decided to use cutouts of tiaras to pin on the princess!  p.s. I'll be blogging about her party next month 

First, I uploaded this picture that her first babysitter took and had it printed at Staples.com. It cost me a whopping $8 or so.  


Next, I was going to use my Silhouette Cameo and cut out tiaras for all 13 of the girls. Instead, it occurred to me that the cupcake wrappers that I had bought were a) pink, b) tiara-shaped, and c) pre-made.  I love me a shortcut!

I then blindfolded each of the girls, twirled them around twice, and let them "pin the tiara on the princess."  To affix the tiara to the picture, I simply used a little piece of double-stick tape. I forgot to mention that  I placed a cupcake wrapper tiara on the picture beforehand to use as reference for where the kids should aim. 


After all the girls went, this is what it looked like (not including my favorite one which wound up on the opposite wall).

It was super fun, and the girls loved it!  It got me thinking that you could do so many other things... pin the mask on the super-hero; pin the wand on the fairy, etc.

Saturday, March 7, 2015

Pin 'M'e up!


On display in Peaches' room
A long time ago, and I a mean, loooooong time ago, I bought a piece of "art" from a local craft store that was on clearance.  I didn't care at all for the picture in it, but loved the frame and at $5, I couldn't turn it down.  

Fast forward several months (or perhaps a year), and I decided it was time to put that baby to use after I found this cork board 'M' on clearance at Fred Meyer's.  We already know that I can't say no to any 'M.'  God forbid Peaches forgets what her name begins with!

Cork board 'M' that Peaches already used to display her art
  The frame had hideous little "sequins" all over it, so I started by removing them.
Frame with the sequins removed
I then realized that I had thrown away the "art" and no longer had a backing to use.  Off to the craft store to buy some corrugated cardboard to cut to size.  

No reason for choosing pink - it was just all they had!

I took a couple of quick measurements by flipping over the frame to see what size the cardboard needed to be to fit it.  Once I cut it, I covered the cardboard with the fabric I had chosen.  I used Elmer's Craft Bond Spray Adhesive, but in hindsight, I would've used something a lot stronger like 3M Super 77 - that stuff really works!
Fabric for covering the cardboard

I used this spray adhesive, but recommend something stronger
The toughest part of covering the cardboard is making sure everything is smooth.  Just keep at it!


After the cardboard was covered, it was time to attach it to the frame.  I simply used a staple gun and I love the one that I have - it makes it so easy!  I just made sure to have one side of the staple go into the cardboard, and the other one in the frame.

You can see one of the staples - one point in the cardboard and one point in the frame
Next came time to add the 'M' to it.  The letter actually came with a couple of Velcro dots, but it wasn't strong enough to stick to the back, so I used good old Alene's Original Tacky Glue which always helps in any crafting situation!
The Velcro dots the letter came with
Alene's Original Tacky Glue to the rescue!
And that was it!  I used a nail to hang it up in Peaches' room and she loved it!

The finished project in my craft room

Peaches loves it!


Saturday, January 31, 2015

Spirit Fingers


It's Super Bowl time here in Seattle and there is nothing like it.  The city is electric and everyone is representing in Blue and Green! GO HAWKS!

Earlier in the season, we were at Peaches McGee's cousin's house watching the game and these people with silly pom-pom gloves appeared on TV.  Someone commented on how cool they were and I (stupidly) blurted out, "I'll make a pair for everyone if the Seahawks go to the Super Bowl."  

Cue the pom-pom sweat factory.

I asked the hubby to pick up a few pairs of gloves since apparently it's difficult to find them in most stores in January (WUT?!) Okay - I may have only gone to one store, but I hate shopping! 

He came home with three which was a huge relief - only 30 pom-poms to make.  Wait, did I say ONLY 30?  That's what I thought until I felt like my fingers were going to bleed after making 32 (of course I ruined two in the process of sewing them to the gloves - grrrrrr.)

Here are the supplies and instructions are below:


Instructions:
  • Send husband out to buy gloves because you can't stand going to more than one store

  • Make a pom-pom for each finger - I used a pom-pom maker like this one and a video tutorial on how to use it may be found  here.  Make more than you need... you WILL ruin at least one of them. 
 

  • Sew the pom-poms to the mittens with embroidery thread that matches the color of the mittens.  I sewed through the pom-pom from top to bottom and then attached it to the mitten by sewing through the tops of the fingers (without a an actual finger in them).  There's a seam there already, so it doesn't add any bulk and looks seamless (no pun intended).
  • Make your child model them even those she doesn't want to!


There you have it; now you have the ability to cheer with your fingers!


Thursday, May 1, 2014

It's Party Time!


Somewhere along the way, I realized that I love almost all things crafty (though don’t ask me to paint a picture, or draw, I’m terrible at that).  This revelation was a shock to most people who knew me, especially my mother who, while extremely (reluctantly) talented in her own right, never enjoyed much crafting herself.  I still remember when I asked her to make invitations for my 8th birthday party and she drew what I thought was the most beautiful horse ever.  She claims to this day that the horse was hideous, but I remember it as being amazing. 

Where am I going with this?  Well, with work being what it is lately, I haven’t gotten to do much of my own crafting. However, there is one person who will always be more important than work… Milla.  The main reason for this is that she is ever so appreciative of what I do. After just a few of her decorations went up, she exclaimed, “I love it mommy!  I love everything you make for me!”  This promptly led me to furiously take on more projects for more affirmations.

This was the first year that I was going to do away with the St. Patrick’s Day theme because I figured she was old enough to tell us what kind of party she wanted.  However, after hearing that she wanted a Princess, Barbie, Ballerina party I decided that I would still incorporate some of the massive amounts of St. Patrick’s Day decorations that I have accumulated on account of having a St. Patty’s Day baby!

Here’s what I did… and I’ll start with the easiest!

Polka-dot cups
I thought of this one on my own and I’m kind of proud of it.  All I did was use my Silhouette Cameo to create hundreds of different-sized circles on a sheet of sticker label paper (like this) and randomly stuck them on the cups.  But you could also use a circle punch or vinyl!  It classed up the cheap-o-cups and made them super cute!


Floating Ballerinas
Next was tackling the ballerinas; not literally of course.  I found a free outline of a ballerina and then also a snowflake outline with a large center and used my Silhouette Cameo to cut several out.  To assemble them, all I had to do was place the snowflake over her body and it rested on her tutu!  Then I took fishing line and hung them from the ceiling.


Tissue Paper Tassels
I have seen these everywhere on Pinterest and always wanted to make them so I used this tutorial, but made it my own by using the Martha Stewart Fringe Scissors (cuts down greatly on hand cramping since you can create more fringe each time you cut). 


Coffee Filter Flowers
Now we’re moving on to the more time-intensive projects.  I had seen these everywhere and wound up referencing a tutorial but you know me, I had to find some shortcuts for it.  So first, I took a ton of coffee filters (I purchased a pack of 400 or so from Costco); and then I dyed them in my kitchen sink with several drops of red food coloring. Obviously, the more drops, the deeper the color.  Then, I put them out to dry (just like the tutorial told me to do) and waited days until I realized that if I separated them, they’d dry more quickly.  Shortly thereafter, my house was littered with pink, damp circles. 

The next steps were to fold them in quarters and staple at the bottom.  Then I shaped what would become the “petals” and varied how I did them.  I used my Martha Stewart Fringe Scissors on some and they looked like Chrysanthemums; then I used regular scissors and made waves which resembled Peonies and then I made zigzag cuts which looked like Dahlias. 

The next step was to open them up and “fluff” them.  Basically, carefully, pull apart the tissue petals.  Here comes my shortcut… the tutorial advised using floral wire to keep it all together, but I just used another staple.  Faster and easier, just my style. 

To hang then, the stapes definitely came in handy.  I wanted to hang them vertically from the ceiling, so I took a needle and threaded it with the fishing line and ran it under the front of the staple so that I could still move the flowers if need be, but they would also stay where I wanted them.

One of the Chrysanthemums

Tulle Pompoms 
The process itself is pretty easy; but the sheer number that I made was not.  First, I advise you to buy tulle on the roll.  This will save you from having to wrestle the tulle and cut it into strips.  If you are cheap thrifty like me, you will buy tulle by the yard at the fabric store and cut strips while cursing your frugalness. 

I then took a piece of cardboard about the size of a playing card and wrapped the tulle around until I got to the end of the strip.  It doesn’t have to be berfect, at all, it just all needs to be relatively taught.  Then I very, very, very carefully slid the card out (I wasn’t successful everytime and had to rewrap the tulle many times) and then I took fishing line (I should buy stock in it after this post) and tigtly tied a knot right in the middle.  Then I took my scissors and cut each side out and “fluffed” them.  Here’s a little tutorial I referenced.

To string them together, I did the fishing line trick that I mentioned above and just sewed right through the middle of the pompom and then hung them from the ceiling!


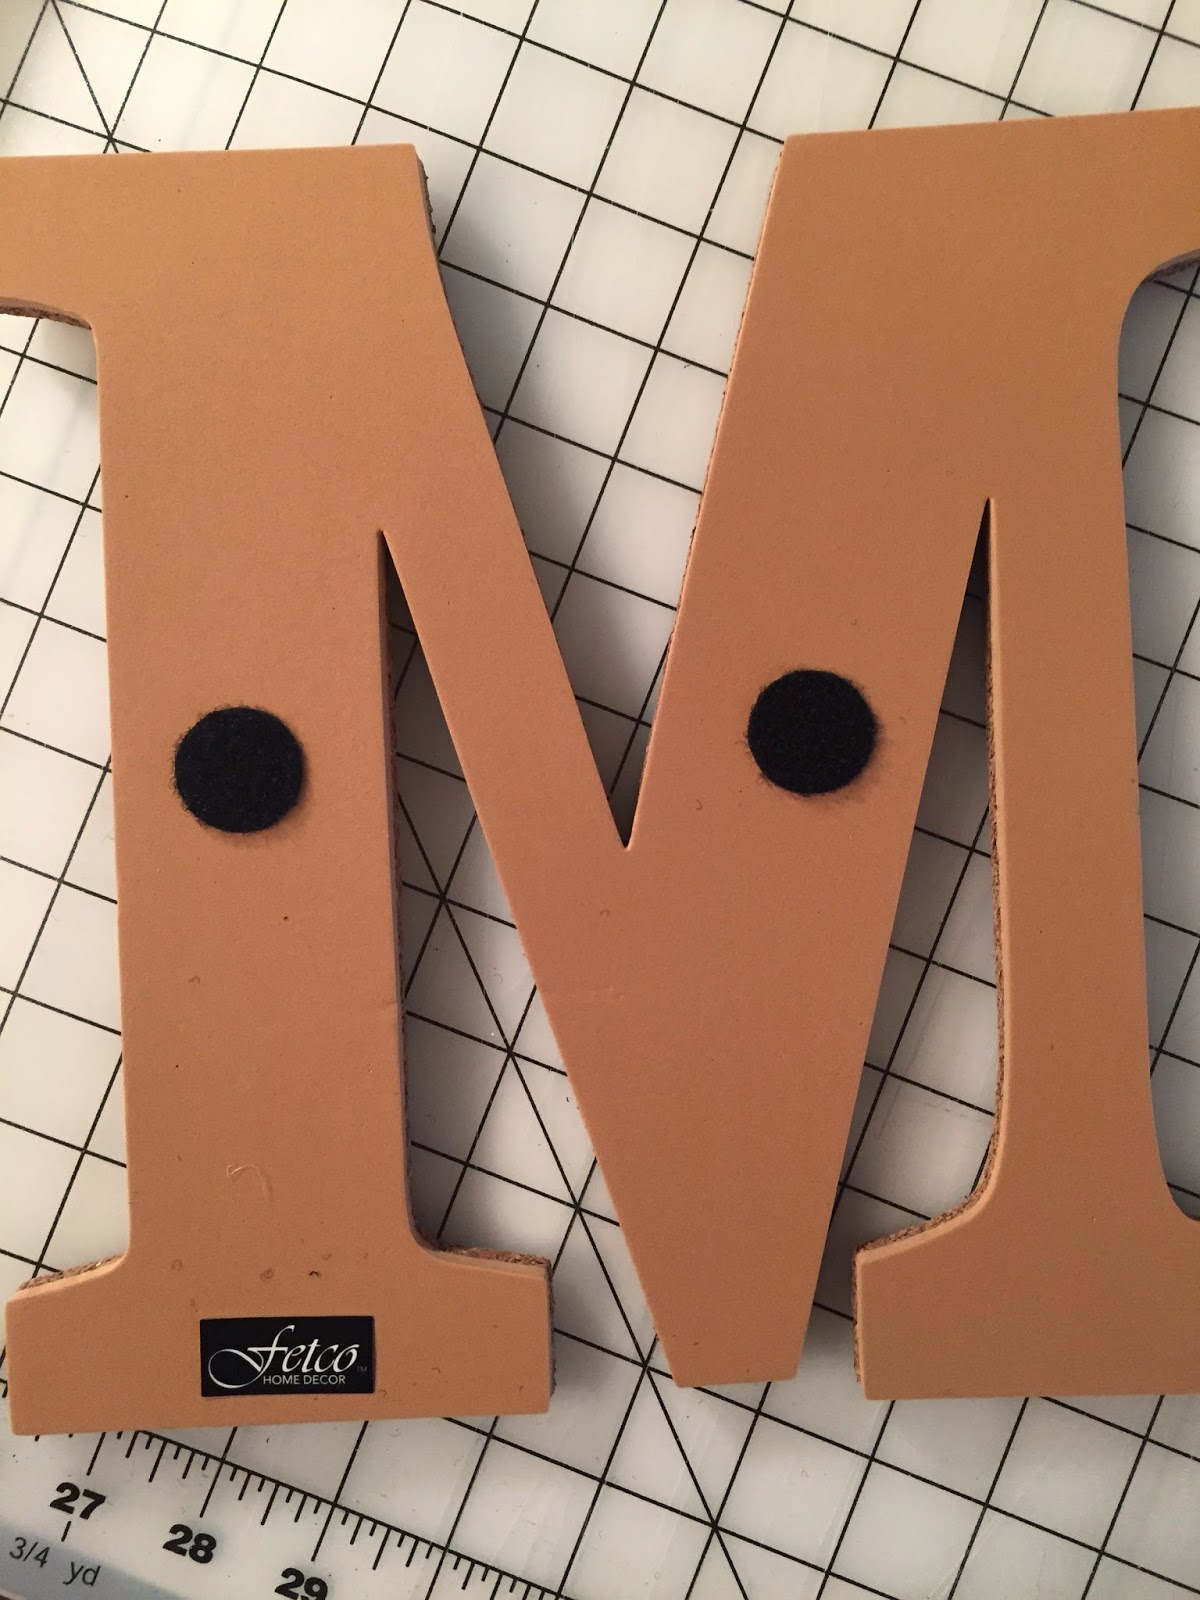
So that’s that.  Did I also mention that I made that banner and the mini-pendant lamp?  Yeah.  I may have gotten a little out of control.