Pages

Wednesday, August 31, 2011

40 Years of Service... Worth a Crayon or Two

Let me preface this post by saying that it's NOT a Martha Stewart project, but since my crafting time has been cut short, I had to prove that I'm doing something with my time.  

My mother-in-law recently retired after forty years of being a teacher.  Those who know me, know that patience is not something that I was blessed with, so I remain in awe of her and her ability to go that long without physically accosting a child.  That's a joke.  Kind of.


I wanted to do something homemade for her, so I found this cute little project where you use crayons to make a monogram.  Of course the one that I looked at used the letter 'W' which is super easy because it's all straight lines.  My mother-in-law's last name is Blake, so that gave me a 'B' to work with.  


First for the supplies... I purchased four boxes of crayons (I didn't want to run out midway through the project!), and then I used a shadow box from Target.  Of course, the first two stores that I went two didn't have a shadow box, but thank you Target for saving me from a trip to IKEA!


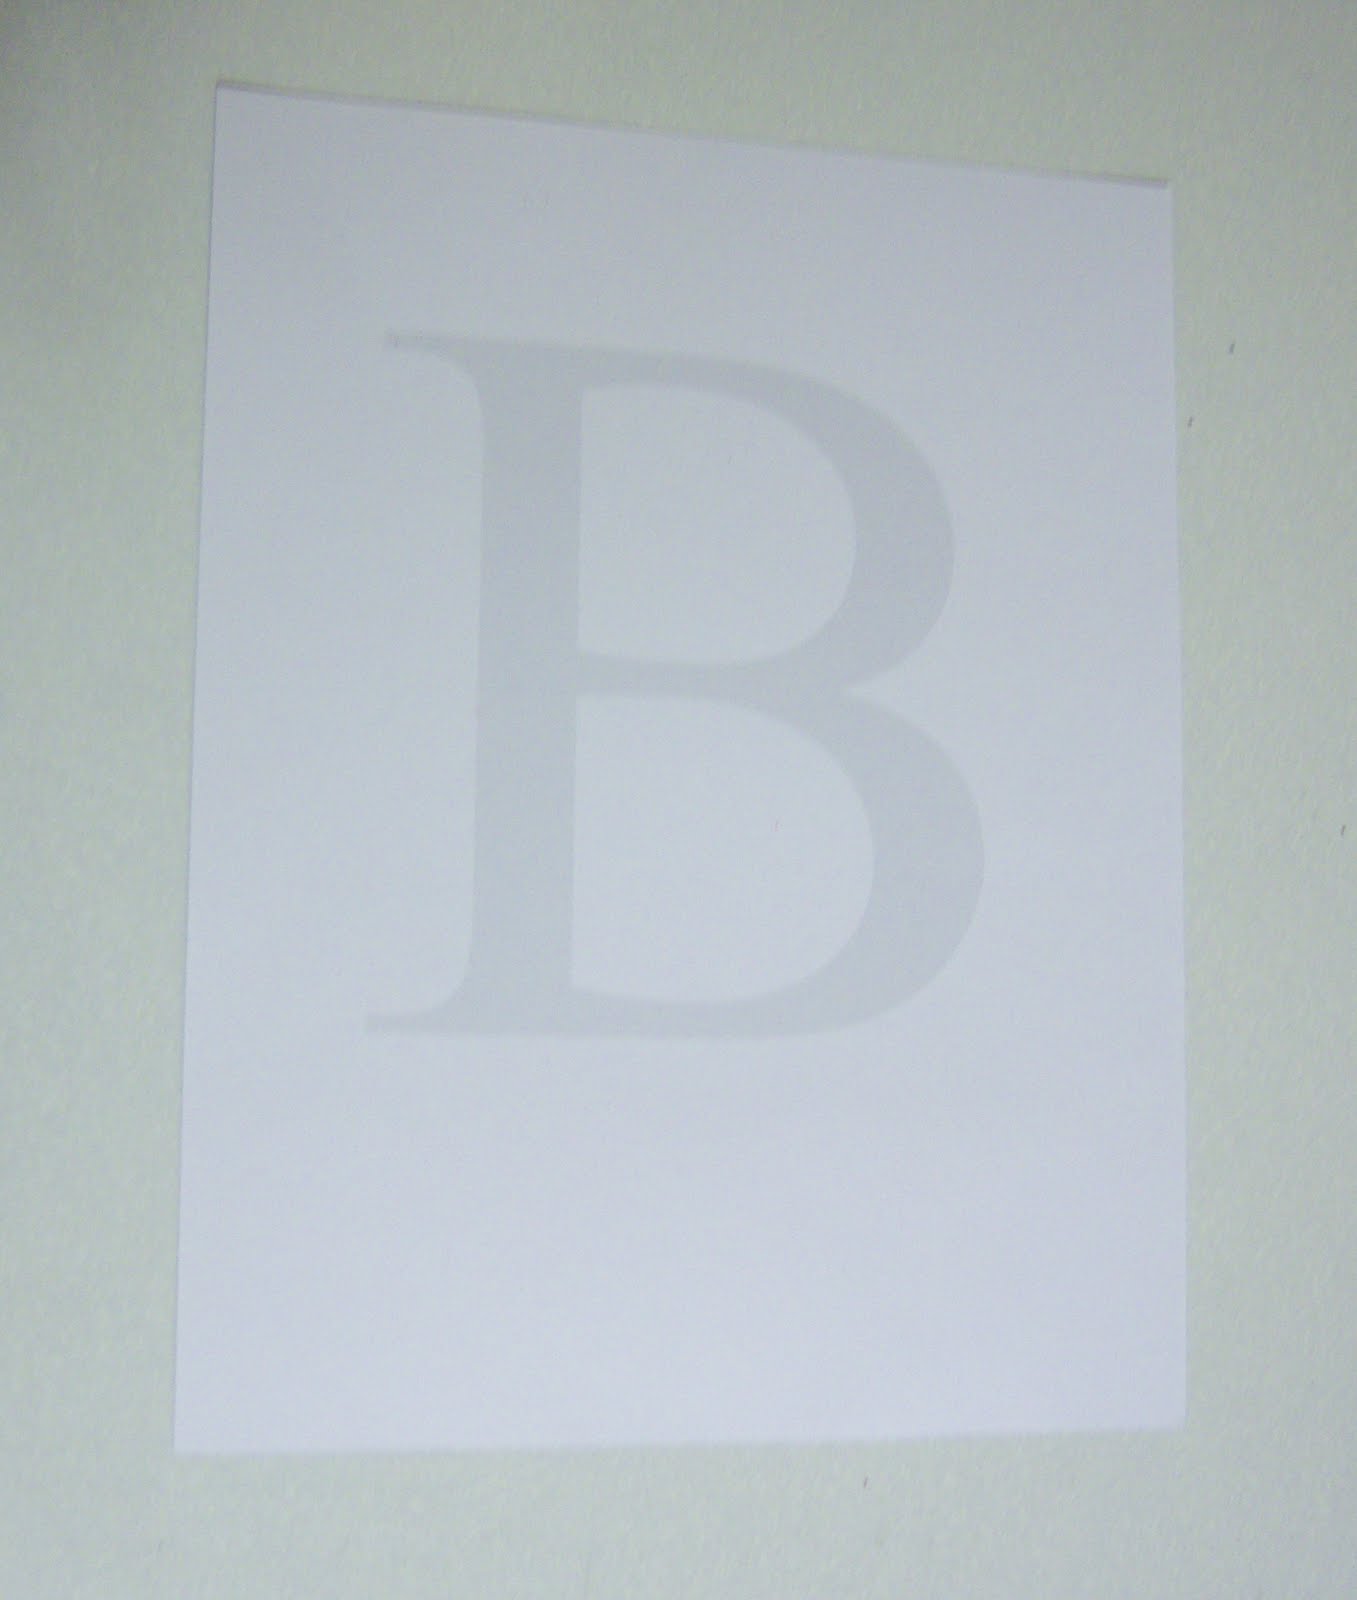
I then printed out the letter 'B' in light gray on a piece of cardstock.  The first time I printed it, it was too dark and you could see it through areas where the crayon didn't mask it (boo). You can use any font, but I chose Times New Roman because it's classic (and much easier because it doesn't have any fancy curlicues)  


I then used craft glue to attach each crayon which I cut to size using an X-Acto Knife.  


Next, I used Microsoft Publisher to make a little label stating her name and her years of service.  I attached it to a larger piece of contrasting paper and combined the two with silver brads.  


Finally, I used a strong fabric adhesive to attach it to the backing of the shadowbox frame because with all of those crayons, it got heavy!  Here it is :)


Since it's the beginning of the school year, butter-up your kid's teacher and make them one!

Tuesday, August 16, 2011

Scarlett-Locks and the Three Bears


Financial Investment: $$ ($10 - $25)
Emotional Investment: J (Not too bad)
Worth the Investment: + (Pretty cute)


My good friend Natalie just had her third child; Scarlett Grace.  She brought her over to my house and I fell in love with all six pounds, five ounces of her.  I stared in wonder as Natalie said that she would definitely be into having another child.  Here, I’m thinking we’re going to stick with one, and she’s considering a FOURTH.

Scarlett has an older brother (Noah) and sister (Clara) and both of them have BRIGHT red hair, and it’s gorgeous.  Naturally, one would think that the new baby would be a redhead as well. 

Nope.  She’s a brunette!

Natalie and her husband didn’t know what they were having, so they chose a boy’s name and a girl’s name and when Natalie delivered a girl, they kept the girl’s name of Scarlett.  I think it’s absolutely perfect, because I enjoy irony; pus, it’s a gorgeous name!

Since Natalie has basically everything for a baby, I wanted to do something special, so I chose Martha’s ‘Three Bears Hangers’ project.

I started it before Natalie gave birth, but due to two bulging discs in my back, I haven’t gotten much crafting done.  That, and Peaches McGee has been transitioning to one nap which has been just awesome (that sentence is dripping in sarcasm).  My normal 15-hour a day sleeper, has decided that she doesn’t want to sleep.  Rather, she’d like to either play or have mom (and her bad back) carry her around everywhere.  Awesome.

The project itself was fairly easy and straightforward, but as usual, Martha’s directions could use some improvement.

You start with a youth-sized hanger (I got a pack of 5 at IKEA).


You then take her template, trace the NINE circles of the bear (two are the same size), cut them out and then decoupage them together on the hanger.

I personally was unable to trace the circles because I didn’t have tracing paper and it’s not as though I could see the lines through the scrapbook paper she calls for.  If I had a craft room outfitted with all of Martha Stewart’s products, it would have been much easier because I could use one of her circle hole punches.  But I don’t, so I had to get creative and started looking for other items I could use to trace the circles. 

Watching Peaches play with some buttons gave me the first idea… a button.  Then I started looking around my craft room and figured out the rest.

Here’s a diagram of where I got each circle from:


Martha once again has an error in her directions.  She states that you build the bear on the hanger (decoupaging each piece on top of one another, beginning with the head); however, if you were to follow her directions precisely, you would find out pretty quickly that you can’t put the head down first.  You have to do the ears first since they go BEHIND the head. 

Who edits these books anyway?  I’m thinking they should hire me as a “commoner” to complete the crafts using their directions prior to going to print. 

For the first hanger, I did exactly as she states, I glued each piece on top of each other.  Then I got smart and realized that assembling the bear completely and then attaching it to the hanger, is MUCH easier. 

Here are the three little bears – I tied little ribbons around them to complete the look:


Because I had two hangers left over, I decided to do some monogramming.  I made one for Scarlett, and then one for Peaches McGee (her initials aren’t actually PM – surprise, right?).  


If it's a gift for Scarlett, why did I make one for Peaches?  Well, I’m trying to make sure that I keep at least one sample of my projects so that when I sell the movie rights and become famous, I can sell the items and donate the money to charity. 

Some of the money to charity.

I’ll donate at least $100!  I’m not Mother Teresa, okay?!

On a side note - while doing research for this post, I stumbled across a website of someone who is doing something very similar to me, and probably a lot better… after all, she has her PhD in English Literature (gulp).  Oh well, I shall carry on with this project.

Monday, July 18, 2011

Twill Tape for Money

Financial Investment: $$ ($10 - $25)
Emotional Investment: K (Up the Zoloft)
Worth the Investment: = (Meh)


I have the cutest picture ever, thanks to the best photographer I know.  Most of my readers know who she is (Kara May) – she’s my cousin and she’s AMAZING.  Check out some of her work at www.karamayphotography.com

For a baby gift, Kara was gracious enough to photograph Peaches (here's a little peek at some of the pictures she took) and to include some prints.  I thought, what better way to honor the picture than to make an outstanding frame for it (or rather, dress up a frame with a cool mat).  Well, it was a thought. 

The Twill Tape Mat project by Martha Stewart looks really cool… basically, you glue twill tape in a geometric pattern around a mat and it really accentuates the picture.  Problem is, if you like things to look good close up, then this probably isn’t a great project for you. 

I did it two different ways since I was unhappy with the first result and I’m still not satisfied (and really grouchy about having to go back to the hell they refer to as IKEA and snaking my way through that monstrosity of a store to get a new picture frame). 

Because Martha has such crappy vague directions, I’ve decided to help everyone out and try to do it step-by-step.  Notice that I stated “try,” so be gentle in your comments.

1.      Pick a photo that will fit into the inside of a matted frame (you can create your own mat, but that’s a different project for a different day).  I chose the Fjallsta frame from IKEA… $12.99 and it fits my décor


2.      Martha doesn’t even include a template or anything, but suggests that you photocopy the page in the book of the examples and to tinker around with them.  Thanks.  Super helpful.  Instead, I got my quilting ruler out, a pencil and lightly penciled in lines around the mat.  It’s really important that the measurements remain consistent.  The picture below is of a different frame/mat that I was going to test it out on, but you get the picture (no pun intended).

If you look really closely, you can see the pencil lines for the design


3.      Martha’s instructions state to use craft glue and to glue the twill tape around piece by piece.  I found that the glue wasn’t strong enough for the twill tape and didn’t really stick, plus it’s super awesome when you paint the glue over a pencil line and it won’t erase.  On my second attempt, I switched to a hot glue gun and while I may have a few burns on my fingers, it was easier to cleanup and looks better. 

a.      To do the corners, you fold the ribbon at a 45 degree angle (and p.s. Martha, one of your designs uses more like a 30 degree angle so you might not want to state that EVERY angle will be 45 degrees.  I’m just sayin’.)

4.      Trim the last piece and try to get it as flush as possible to the area that you’re gluing it to.

5.      Step back and refrain from throwing the frame against a wall.
Take one

Take two

Thursday, July 7, 2011

Firework Me into a Frenzy Cookies


Oh Martha.  I saw these on the cover of your Living magazine and then watched you make them on the Today show.  It’s not part of my whole ‘Martha and Reid’ endeavor, but let’s be honest.  I have been a little behind in blogging and if I did one of your projects, whether it be in the book I’m detailing, or in your magazine, I’m going to write about it.

Once again, I pose the question, “Why do you make things look so easy when they’re not?”  Why don’t you tell the public that they should make sure that no one is in the house when they attempt your projects so that there aren’t any objects being flung at innocent people?  Or curse words that young ones should not hear? 

Yes, the end product looks nice.  Yes, they actually taste okay too (which is a first for me… I once made her ricotta chocolate mousse and let’s just say I have an awesome gag reflex).  And yes, you do state that the cookies alone take three total hours.  But you don’t include the fact that it takes at least an hour and a half to decorate them!

Also, you might want to make sure that your television commentary is in line with what is in your magazine.  I went grocery shopping based on the ingredients for the Royal Icing that you discussed on the Today show.  In your words (I’m paraphrasing), “It’s very simple.  All you need is powdered sugar, water and some egg whites.” 

You might want to check that recipe again because the one in your magazine calls for Meringue Powder which is not what I would call a “staple” ingredient.  Thankfully, you note that it can be found at nycake.com.  How convenient.  Yes, let me just order it along with some other specialty items you call for and cross my fingers that they’ll magically appear before I actually need them. 

No worries, Martha!  I took matters into my own hands and used the allrecipes.com app for my iPad and got a Royal Icing recipe which called for Cream of Tartar since I had that in my spice cabinet.  I also used regular old food coloring to dye it instead of your fancy schmancy one; and yes, the red icing tasted like straight chemicals, but what’s your point? 

So how does a real person complete this project?  Well, you grunt over the million step sugar cookie process (see the directions here), or realize that any sugar cookie recipe will do.  You then make some royal icing (recipe here) and divide it into three bowls; one for white (the largest amount reserved), then one for red and blue.  You then use about 80 drops of dye for the red and maybe 30 for the blue and you get colors that somewhat resemble the ones on the cover of Living. 

Next you use an angled spatula and slap on the white icing instead of “flooding” the cookies that Martha calls for (in the interest of sanity and time).  Then you immediately pipe a red or blue dot in the center of the cookie and follow it with concentric circles in red or blue.  Martha states that you can use pastry bags or specialty squeeze bottles – I obviously took the easier (read: cheaper) route and used pastry bags).  Finally, you take a toothpick and drag it from the center of the cookie outwards and continue around the cookie. 

So here they are.  Do they look as good as Martha’s?  Probably not.  Oh well.


Monday, June 20, 2011

Quill It Never End

I chose the ‘Scroll and Heart Gift Cards’ project because let’s face it – I’m not exactly raking in the bucks doing this blog.  In fact, without my dad’s gift cards to Jo-Ann’s (which I’ve used almost all of (and too bad he doesn’t read this because I could REALLY use some more)), I’d be up a creek because it’s expensive doing all of these craft projects.  Yes, it looked intricate, but in Martha’s words, “Don’t let the elaborate effects fool you: The art of quilling is easy to master.”  Plus, ‘quilling’… It sounds so nice – it rolls so nicely off the tongue.  That’s where the niceness ends, because

It

Takes

Forever!

Yep. Try Googling “quilling” and you might stumble upon a site that has the following disclaimer:

I’m sorry, what does the first sentence say after the headline?? 

End product?  Not bad. 
Would I do it again?  Meh.  I’d like to try it using different patterns until I make a final judgment.

But perhaps I’m a tad bitter because yet again, I read the instructions probably too far in advance.  For some reason I thought that the instructions said that you should use construction paper.  Nope.  It clearly states that you should NOT use construction paper.  Oops. 
The instructions (when read the day of the project) are so-so in the book, but they’re much better online (see link above; it’s not the exact same project, but it will give you a good idea).  How she could have improved it?  Put a disclaimer lady.  Let the people know that it takes a long time and to set aside at least an hour (or two if you’re watching the Real Housewives of Orange County).

Martha lets you know that you can pay EXTRA for specialty quilling paper, or, you can choose not to be lazy and make the quilling strips yourself by just using a paper cutter and a ruler.  Yes, it takes more time, and yes I’ll admit that if I had a lot of money, I would DEFINITELY shell out the extra dough, but I don’t, so I didn’t. 
You then use a quilling tool – lucky for us, they’re not too expensive (less than $5 at Jo-Ann’s).  You place the paper strip in the slot on the tool and then turn it loosely, or tightly, depending on the shape you desire.  You use a dot of glue at the end to secure it and then use glue on the bottom to adhere it to the paper.

For the ‘fern’ that I made, the instructions called for 15 small tight circles that you squeeze into ovals to form the ‘leaves.”  Then you make a loose scroll at the end of a strip, and finally, 4 open loose circles in the corners. 
Here it is… like I said before, not great, but not bad.  At a later date, I’ll attempt the “Scroll Bugs” that she has in her book.  But for now, I’ll just take a little rest from quilling…

Supplies (from top L) - Paper cutter, paper from 'Stack 7' scrapbooking paper, quilling tool, sample of the paper I used from the 'Stack 7'
Paper with "strips" that I cut (and these are the leftovers since they are not exactly even)
Side profile of finished card

LOVE HIPSTAMATIC - IT MAKES ANYTHING LOOK BETTER!!!

Wednesday, June 1, 2011

Over-The-Top Cupcake Topper

I’m currently trying to “re-learn” French (I used to be fluent), renewing my real estate license, attempting to be a good wife/mother, and trying to keep my blog updated, so when I came across an opportunity to combine two major events in my life, I had to do it.

As I wrote earlier, my BFF Lauren is moving to Cincinnati; and as her friend, I wanted to throw her and her husband a going away party.  We chose to do it at our house and when I was freaking out over what to do for dessert, I remembered a project from Martha Stewart’s Encyclopedia of Crafts book that I wanted to tackle.  It was for cupcake toppers… perfect! 

When I originally read the instructions, it seemed very easy, but for some reason I combined the project with a project that was featured on one of my favorite blogs (www.howdoesshe.com) and one that I was planning on doing for Peaches McGee’s birthday.  Which, in other words means, I made it WAY more complicated than it should have been.
Martha’s directions simply call for using a photo of the people you are celebrating, printing it out, and making sure to include a white border around it.  You would then use double-sided tape to stick them together over a toothpick or popsicle stick, and voila! 

My directions:

1.      Spend entirely too much money on a flower-punch paper cutter that the project doesn’t call for, but that for some reason is what you have in your mind as the actual project

2.      Find a picture without letting your friend know, which on the upside, means finding some photos from your wedding that you didn’t know existed

3.      Format the picture using Publisher (making it black and white because who doesn’t look better in B & W) and then copy and paste it over and over

4.      Print it out on cardstock

5.      Use a paper cutter to cut each one out

6.      Realize that it would have been WAY easier to not have any border around the pictures since you’ll have to individually trim each picture.  Oh, and since there is one picture on each side of the cupcake, that makes 48 teeny, tiny little photos to cut out

7.      Place it on the flower-shaped cutout that you spent too much money on only to realize that the picture looks too diminutive

8.      Decide to use a circular punch (already owned) to make a true “flower” with the flower-shaped cutout and then place the picture on that

9.      Glue the picture to the circle

10.   Glue the circle to the flower

11.   Repeat 48 times

12.   Use two pieces of double-stick tape to sandwich a toothpick

13.   Repeat 24 times

And it’s done!  Easy peasy.

Why oh why do I have to make things so difficult???

I think they turned out okay, but I wasn’t thoroughly impressed by them.  Next time, I think I’ll go the easy route and just use one picture with a white border around it.  None of this flowery sh!t. 
Expensive flower punch on top and the circular punch that I already owned on bottom

Pictures of the couple with the inconvenient white border around them

Flower-punch, circular punch, photo.  Rinse and repeat.


The army of cupcakes

Friday, May 20, 2011

Lilliputian Envelopes

Wow Martha!  You’ve really outdone yourself this time.  The next time I get invited to a Lilliputian’s birthday party, I’ll be ready to give them the cutest card/envelope ever!!!

Before you make a snide remark that I probably missed the instructions that state you should “enlarge” the template, I didn’t.  I looked everywhere and didn’t see any. 


Whoops!  I take that back.  As I was writing up my recap, I re-read the instructions and she states that you should “Photocopy a template to your desired size.”  My suggestion: BE MORE CLEAR.  Why not something such as, “The templates provided in this book are for ‘little people.’ You need to enlarge the templates in order to write any other word besides ‘hi.’”
Templates provided in the back of the book
Keep in mind that the grid you see below is in INCHES.  Each square is a square inch.  Hopefully that gives you some perspective because while I learned in Geography class a long time ago, they used to place a pack of cigarettes in the picture to give a feel for the size of the object, I don’t smoke, thus no cigarette packs around.


I'm not too into crafting alone, so Lauren came over, we had a beer and she created some 'Just Moved' cards (since she'll be moving to Cincinnati shortly).  Boo.  What is it with all of my friends moving??? 


Below is the template that she recreated, FREEHAND no less, next to the one provided in the book.


My Lilliputian envelope, and Lauren's "normal"-sized envelope
There were four templates total, and in the following picture, I displayed them in their original Lilliputian size as well as an enlarged size.   


And it wouldn't be a complete blog post without one more Hipstamatic picture of the finished project.

To seal the envelopes, I just used a circle-punch on a coordinating piece of paper and then glued it on.  It's not resealable, but I think it's kind of cute!

Hey, I just thought of a bonus for the tiny envelopes!  You could use the left-over confetti from a 3-hold punch to seal them!  THEY'RE THAT SMALL.