My dad gave me a HEINOUS (I like that word, so I’ll be using it a lot) dresser that he had purchased many years ago. It is one of those from the 80s that has rounded drawer corners, no pulls, and a generic oak stain. Why am I telling you this instead of showing you a picture? Because I committed the biggest faux pas of them all…
I forgot to take a friggin’ ‘before’ picture. Grrrrrrrrr.
Here’s a picture of it after I got a coat of primer on it. Yes, there are drawers, but why would I take a picture of those? Hissssssss.

I was really excited because I found this expensive primer from Valspar which states on the label that it is for drastic color changes. Perfect! That means only one coat and then I’ll just have to put a coat of paint on it.
Not so much.
So, at this point, I’ve got one coat of primer on it, and one coat of paint, and one to go. Then (per the instructions, which I will be following this time), I have to wait a week for it to “cure.” Didn’t realize that it had a disease, but I guess it could. Maybe that’s why it was so heinous? I'll keep you posted on this project.
Of course I wasn’t content with doing just one project, so I also decided to tackle the Whale Step Stool, which is essentially the same project, but on a smaller level.
I took this step stool that my husband so kindly used to prop up his batman belt that he spray-painted for one of his shows. Yep, that hubby of mine is the front man for Schudge. Word-class rock star if you ask me (trust me, there’s nothing like seeing the man you love on stage, even in a homemade Batman costume).
Here’s the before picture (luckily I remembered to take one)

And same drill as the dresser… one coat of primer, one coat of paint, and one to go.
I’ll continue to post my progress (assuming I make any since I’m about ready to throw both in the trash).
Oh, right, I also decided to do another project last night… Valentine Topiaries.
It’s not Valentine’s Day, you say. Well, I don’t care because I have had about a dozen topiaries gathering dust in my craft room since I purchased them for my wedding three and a half years ago, and never used them. Plus, if you buy Valentine’s Day decorations AFTER the actual day, you get 70% off. I’m a sucker for a great deal.
Here’s what I did (and imagine that I did it twice, which I had intended on doing, but was mesmerized by the Real Housewives of Atlanta reunion, so I didn’t work too quickly).
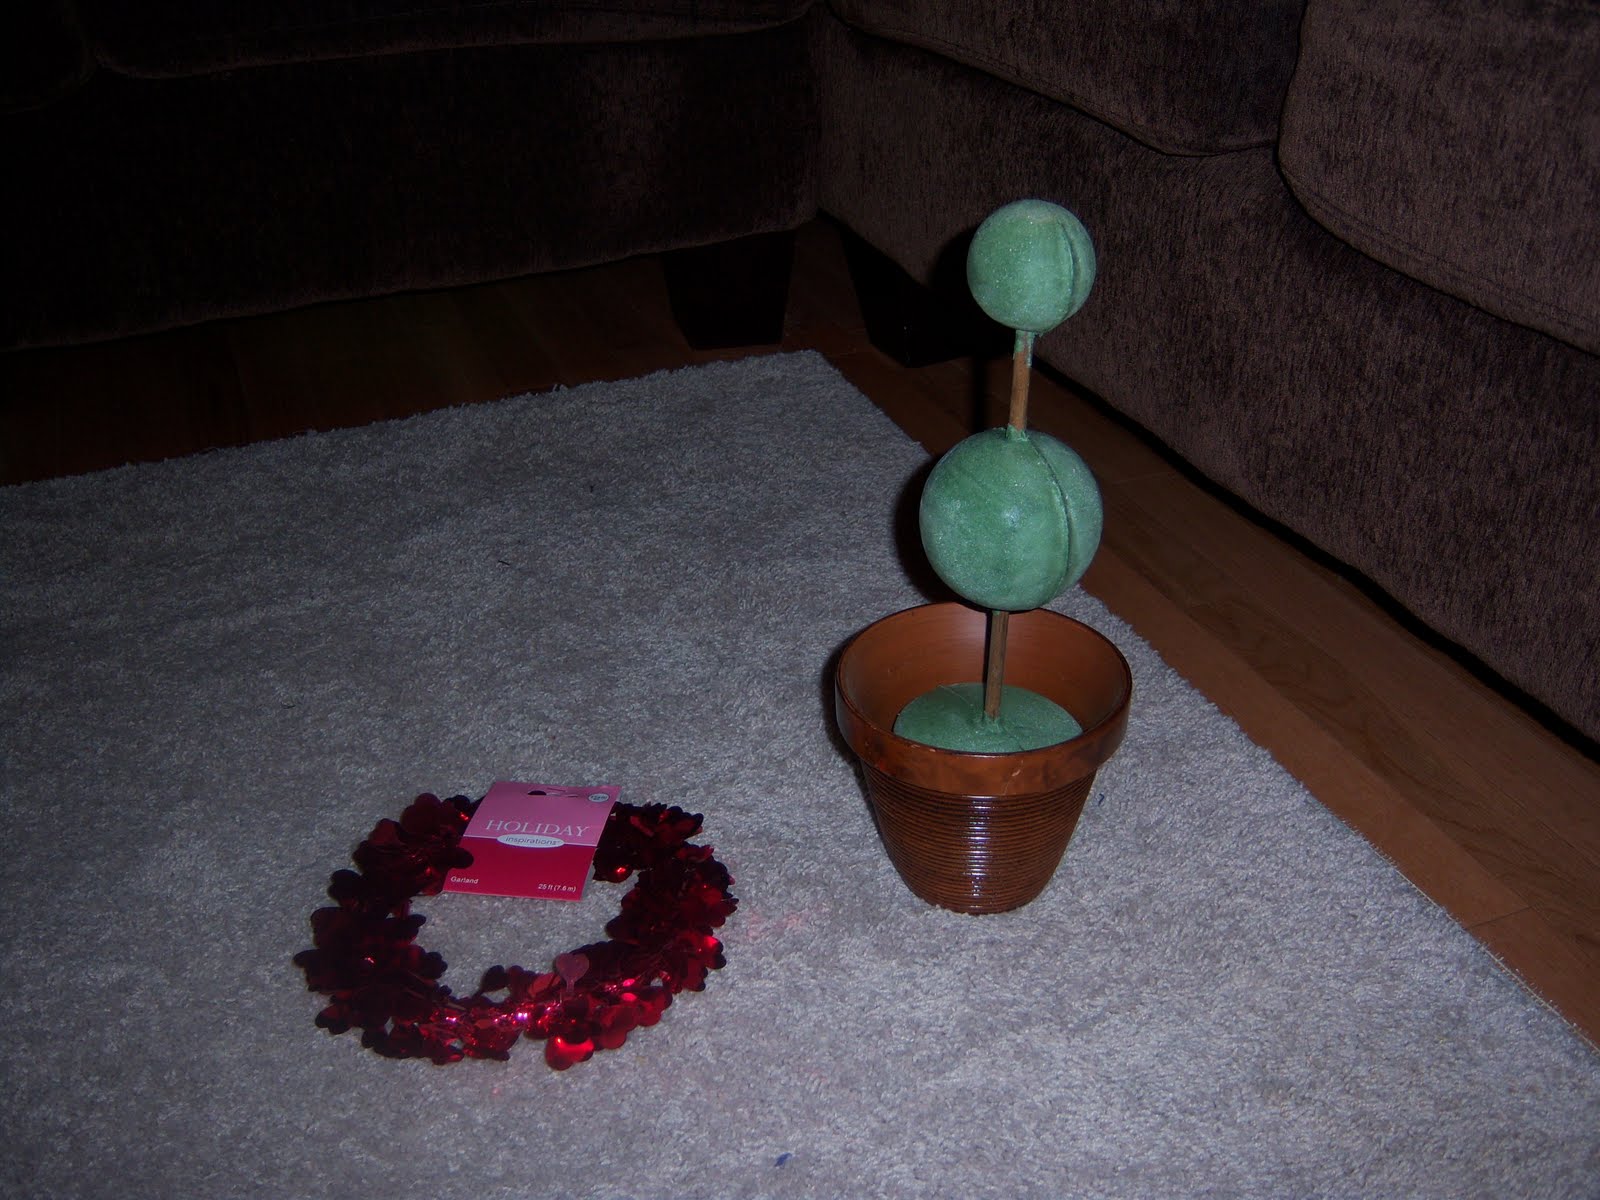
The supplies (topiary, plant pot, Valentine’s wreath, embroidery scissors (I just purchased them to appear more "crafty," and pins). Why are they not in one picture? Who knows. One glass of wine too many perhaps.

I then cut off each large and medium heart from the wreath using the embroidery scissors (loads of fun), and attached them to the Styrofoam topiary with a pin (lots easier than burning the crap off your fingers with the hot glue gun). I then wrapped ribbon around the stick and attached it with CRAFT GLUE (see above note on the hot glue gun), and finished it off by tying a ribbon in a bow. Lastly, I put it in the pot with some reindeer moss (who knew that reindeer preferred one moss over another? I didn’t). And that’s that. Not too shabby.
 |
| Big ball with large hearts (Ha! I said big ball). |
 |
| Smaller ball with medium hearts |
 |
| Reindeer moss on the bottom |


Clever. I love this and it could be used at Christmas.
ReplyDeleteLooking forward to seeing the finished dresser. Are you adding new pulls when done?