Anyone who knows me well (or has played any game with me), knows that I am super competitive and HATE to lose. So, let me take you back in time to when I was a fourth grader in Mrs. Goodrich’s class at Villa Academy. She had a project for us to complete and whoever finished fastest, won. I prided myself on always being the first to finish tests, math tables, etc. and I was REALLY UPSET when I saw others finishing before me. I was panicky and angry at myself that I couldn’t get it done and then I got to the last question. I don’t remember what it was, but basically the purpose of the whole exercise was to read the directions completely before attempting to perform the task/project.
I didn’t do that with the Family Brag Book.
I looked at the pictures and thought, “I can figure this out, no problem.”
Problem.
I’d like to apologize to Martha Stewart, God, and everyone else whose name I took in vain. It really was an easy project. So easy that I did it last night in less than 30 minutes. However, I also outsmarted Martha (or her minion who put together the project), and here’s what I did.
I went to Joann’s to get the plastic binder sheets that she suggests (when you read the actual “How-To” and not the “Project Supplies” section, she specifies that you need binder sheets made to hold sports cards, or side-by-side pockets from 1 double sided pocket or binder sheet). Clear as mud.
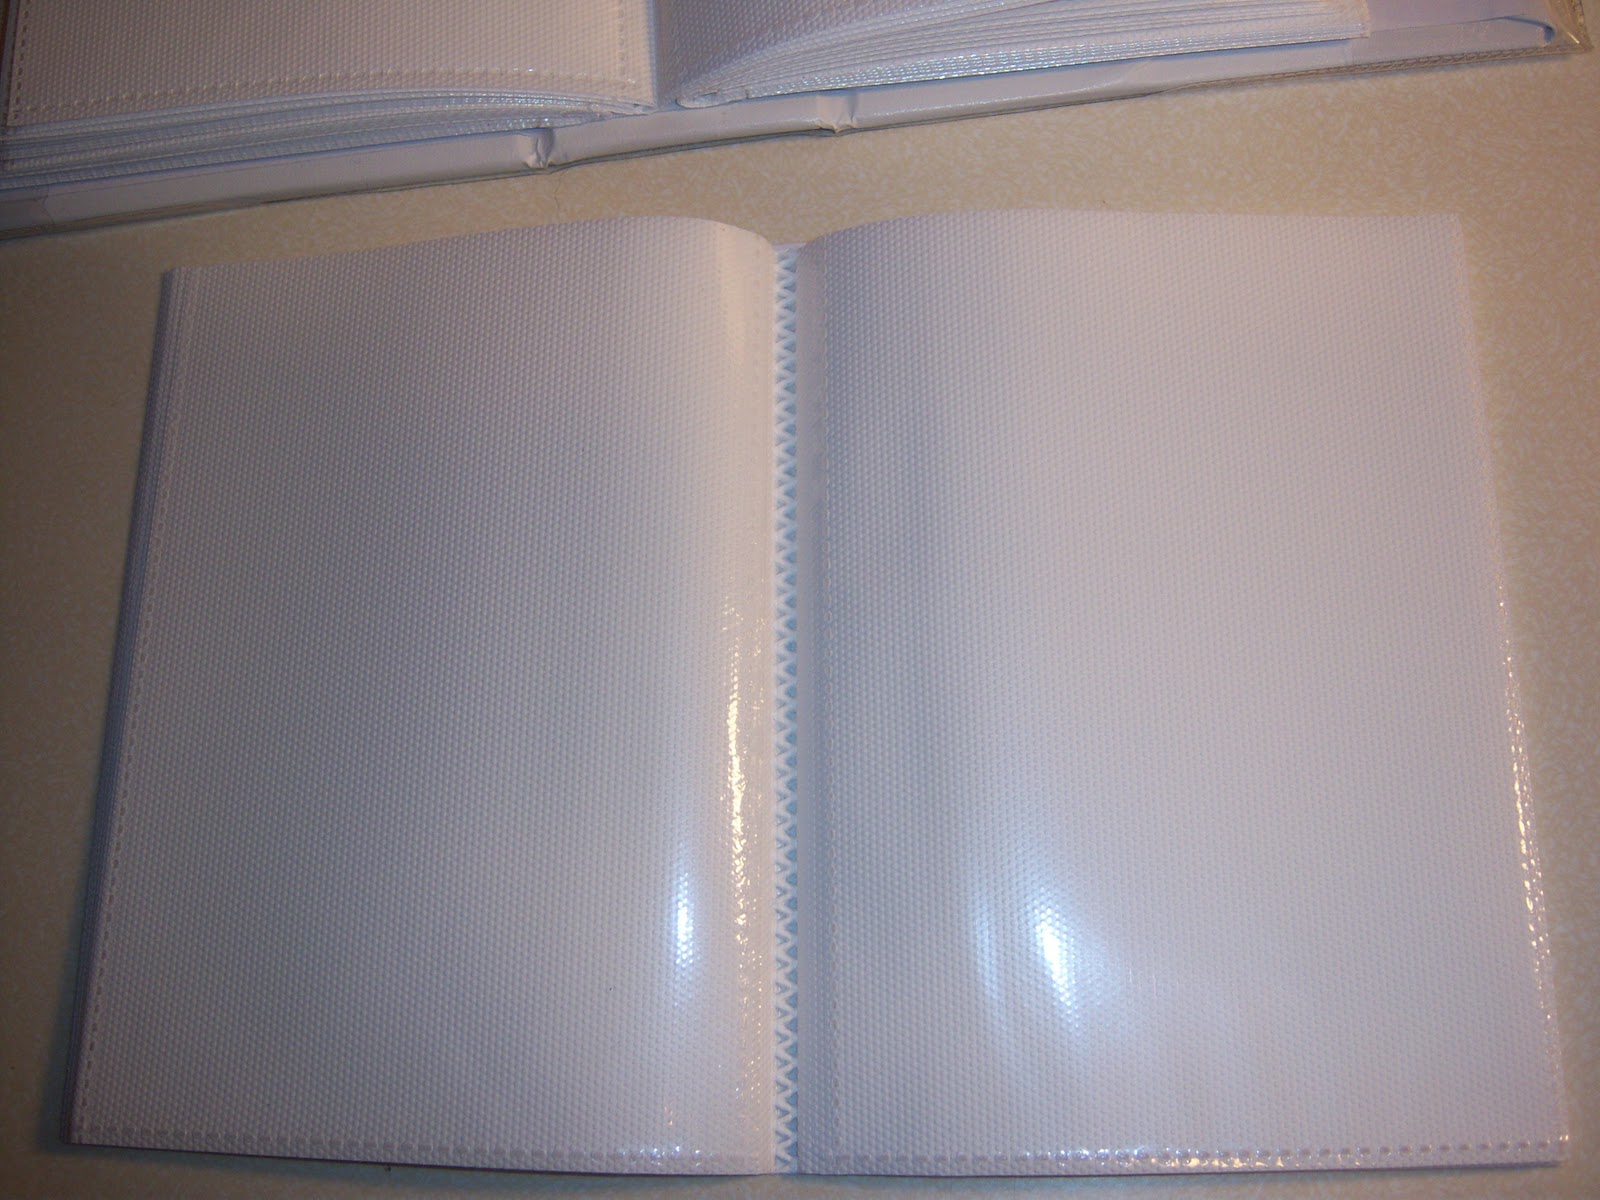
I had Milla in the Bjorn and was getting a little frustrated and tired (she’s getting big!) and it dawned on me… Why do the hard work when I could just purchase a cheap little photo album (see below) and cut out the little sections with the photo pages in it?! It cost me way less than the photo sheets that I never found (okay, I’m just assuming, but I’m pretty sure).

Using an X-Acto knife, I cut out the section

Then I took two pieces of fabric (which I had purchased to make my friend Yvonne an iPad cover and failed miserably at), and sewed them together, right sides facing each other. Of course I sewed around the entire thing forgetting that I had to pull them right side out, but that was easily rectified by my favorite thing ever, THE SEAM RIPPER. Next I just slip-stitched (talk dirty to me) the hole closed, sewed a seam down the middle, and voila!
 |
| Fabric |
 |
| Back of book |
 |
| Open book |
 |
| Front of book |
I added an eyelet on the front and back (FYI, you don’t need one on the back, but for good measure I did it anyway (oops, read the directions REID!)).
Then tied a piece of elastic around it, and here it is...
 |
| FINISHED! I had to include a picture of Milla at her prettiest… I’m thinking that she knew all along that I was doing it incorrectly and this is how she felt.  |


lovely and something that I would like to make
ReplyDelete