My mother-in-law recently retired after forty years of being a teacher. Those who know me, know that patience is not something that I was blessed with, so I remain in awe of her and her ability to go that long without physically accosting a child. That's a joke. Kind of.
I wanted to do something homemade for her, so I found this cute little project where you use crayons to make a monogram. Of course the one that I looked at used the letter 'W' which is super easy because it's all straight lines. My mother-in-law's last name is Blake, so that gave me a 'B' to work with.
First for the supplies... I purchased four boxes of crayons (I didn't want to run out midway through the project!), and then I used a shadow box from Target. Of course, the first two stores that I went two didn't have a shadow box, but thank you Target for saving me from a trip to IKEA!


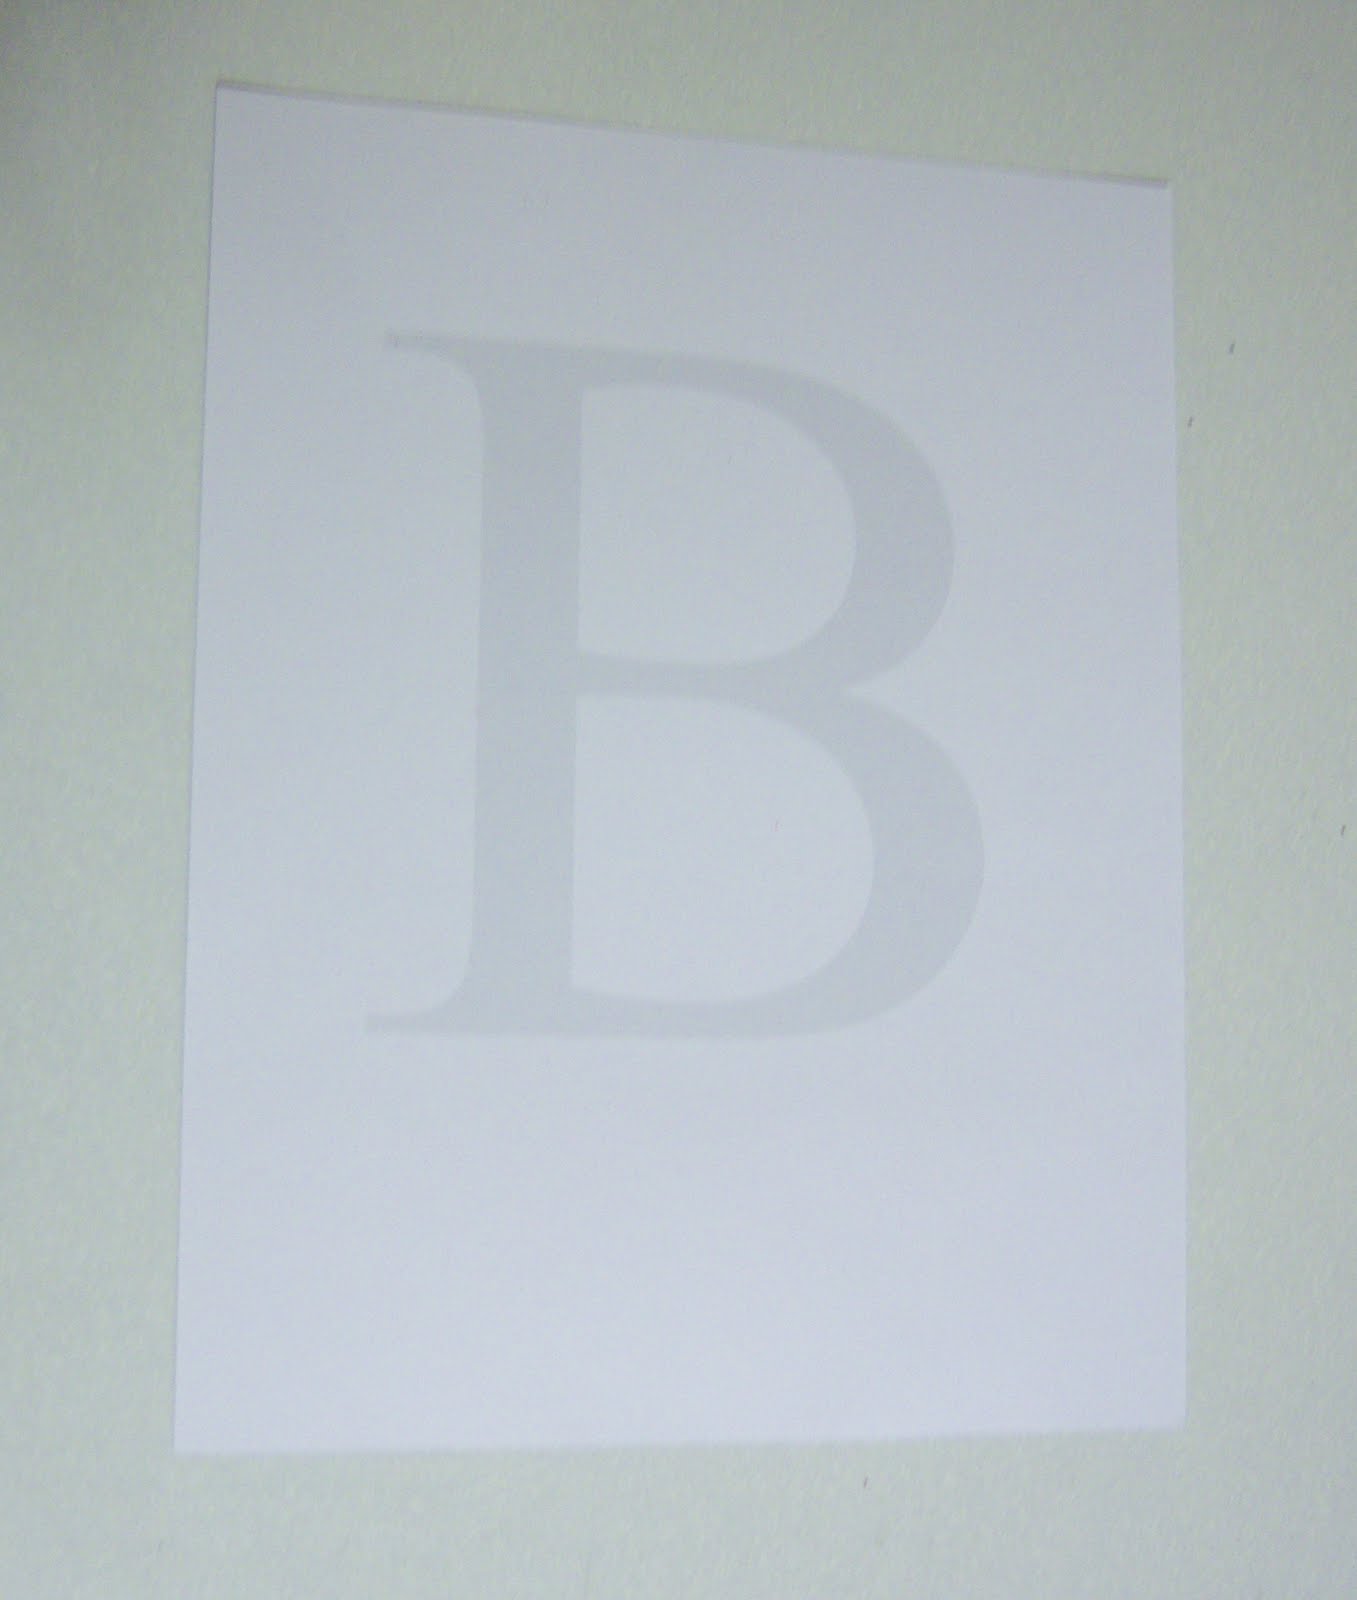
I then printed out the letter 'B' in light gray on a piece of cardstock. The first time I printed it, it was too dark and you could see it through areas where the crayon didn't mask it (boo). You can use any font, but I chose Times New Roman because it's classic (and much easier because it doesn't have any fancy curlicues)
I then used craft glue to attach each crayon which I cut to size using an X-Acto Knife.


Next, I used Microsoft Publisher to make a little label stating her name and her years of service. I attached it to a larger piece of contrasting paper and combined the two with silver brads.
Finally, I used a strong fabric adhesive to attach it to the backing of the shadowbox frame because with all of those crayons, it got heavy! Here it is :)
 Since it's the beginning of the school year, butter-up your kid's teacher and make them one!
I wanted to do something homemade for her, so I found this cute little project where you use crayons to make a monogram. Of course the one that I looked at used the letter 'W' which is super easy because it's all straight lines. My mother-in-law's last name is Blake, so that gave me a 'B' to work with.
First for the supplies... I purchased four boxes of crayons (I didn't want to run out midway through the project!), and then I used a shadow box from Target. Of course, the first two stores that I went two didn't have a shadow box, but thank you Target for saving me from a trip to IKEA!


I then printed out the letter 'B' in light gray on a piece of cardstock. The first time I printed it, it was too dark and you could see it through areas where the crayon didn't mask it (boo). You can use any font, but I chose Times New Roman because it's classic (and much easier because it doesn't have any fancy curlicues)
I then used craft glue to attach each crayon which I cut to size using an X-Acto Knife.


Next, I used Microsoft Publisher to make a little label stating her name and her years of service. I attached it to a larger piece of contrasting paper and combined the two with silver brads.
Finally, I used a strong fabric adhesive to attach it to the backing of the shadowbox frame because with all of those crayons, it got heavy! Here it is :)


